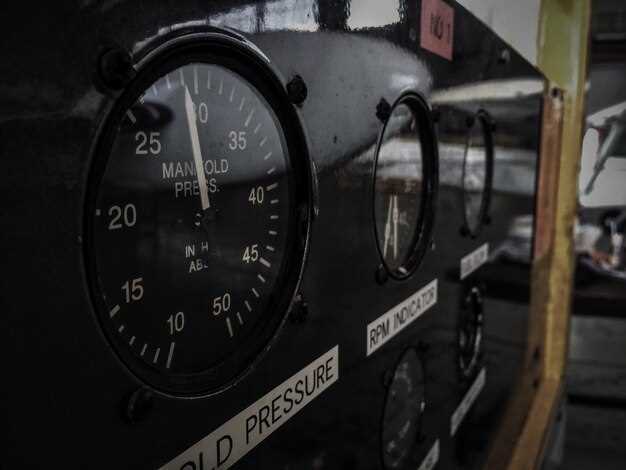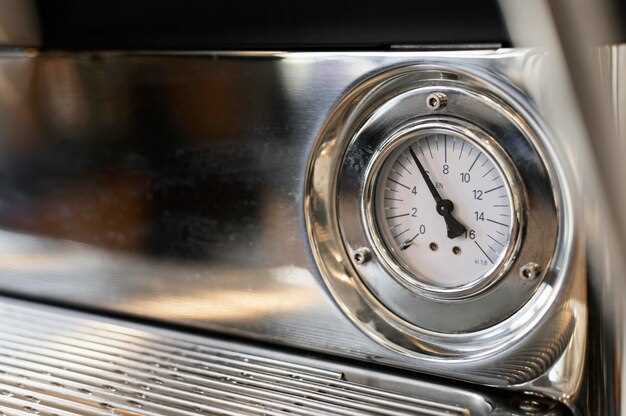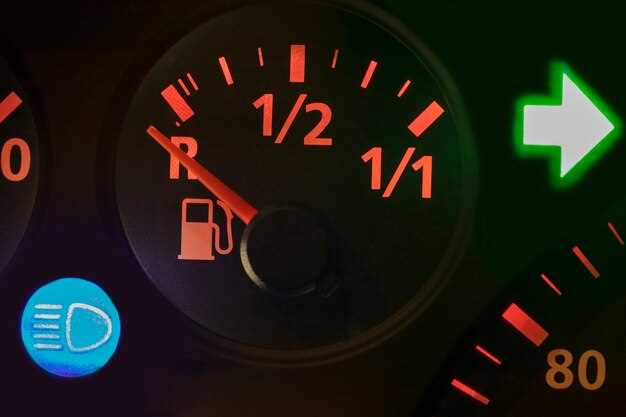
Restoring the dashboard and gauges of a vehicle to their original factory specifications is a meticulous process that requires both attention to detail and a blend of technical knowledge. Over time, the components of a cluster can degrade due to environmental factors, wear and tear, or accidental damage. This not only affects the aesthetic aspect of the vehicle but can also compromise its functionality, as accurate readings from the gauges are crucial for safe driving.
Understanding the specifics of your vehicle’s dashboard can make the restoration process much smoother. Each manufacturer has unique specifications and designs for their dashboards and instruments, which means that restoring them requires knowledge of the original factory settings. This comprehensive approach ensures that each gauge is recalibrated correctly, maintaining accuracy and reliability.
When embarking on this restoration journey, it’s essential to source quality replacement parts designed to meet the original standards. Whether you’re restoring classic cars or modern vehicles, ensuring that your cluster is up to factory standards not only enhances the driving experience but also adds value to the vehicle as a whole.
Assessing the Condition of Your Instrument Cluster

The instrument cluster, commonly referred to as the dashboard, serves as the primary interface between the driver and critical vehicle information. A thorough assessment of its condition is essential for ensuring safety and functionality. Start by visually inspecting the cluster for any cracks, fading, or discoloration. Any signs of damage can indicate that the components may not operate correctly.
Next, check the functionality of each gauge and indicator light. Ensure that speedometers, tachometers, fuel gauges, and warning lights respond accurately under various conditions. Malfunctioning instruments can mislead the driver, leading to potentially hazardous situations.
Also, assess the clarity and integrity of the lens covering the dashboard. A scratched or cloudy lens can obstruct visibility, making it difficult to read the information displayed. Consider disassembling the cluster to clean or replace the lens as necessary.
Moreover, evaluate the electrical connections behind the cluster. Loose or corroded wires can result in intermittent issues, affecting gauge performance. Properly secured and clean connections are crucial for the cluster to function optimally.
Finally, consider the age of the instrument cluster. Older models may experience wear and tear that affects overall performance. Restoration to factory specifications may involve replacing outdated components to improve accuracy and appearance. By thoroughly assessing the condition of the dashboard and its components, you can determine the necessary steps for restoration and ensure that your vehicle operates safely and effectively.
Step-by-Step Guide to Recalibrating Dashboard Gauges

Recalibrating your dashboard gauges is essential for accurate readings and overall vehicle performance. Follow this step-by-step guide to restore your instrument cluster to factory specifications.
Step 1: Gather Necessary Tools
Before starting, ensure you have the following tools: a screwdriver set, digital multimeter, calibration software (if applicable), and access to the vehicle’s service manual.
Step 2: Disconnect the Battery
For safety, begin by disconnecting the negative terminal of the battery. This will prevent any electrical short circuits while you work on the instrument cluster.
Step 3: Remove the Instrument Cluster
Carefully use a screwdriver to remove the screws securing the instrument cluster. Gently pull the cluster from its housing, taking care not to damage any connected wiring. Disconnect the wiring harnesses attached to the back of the cluster.
Step 4: Inspect the Components
Once the cluster is removed, inspect all components for damage or wear. Look for burnt bulbs, cracked circuit boards, or loose connections. Replace any faulty parts before proceeding.
Step 5: Calibrate Each Gauge
Using a digital multimeter, check the resistance and voltage levels of each gauge. Consult the service manual for factory specifications. Adjust the gauges using calibration software or manually, depending on the gauge type.
Step 6: Reinstall the Instrument Cluster
After recalibrating, reconnect the wiring harnesses to the instrument cluster. Carefully place it back into the dashboard housing and secure it with screws.
Step 7: Reconnect the Battery
Once the instrument cluster is securely installed, reconnect the negative terminal of the battery. This will power your dashboard gauges back on.
Step 8: Test the Gauges
Start your vehicle and monitor the gauges for accuracy. Check that all readings are reflected correctly and adjust if necessary. Driving the vehicle can also provide real-time readings to confirm the calibration.
Step 9: Final Inspection
Perform a final inspection of the dashboard for any loose fittings or misaligned components. Ensure all warning lights function properly and that the overall appearance is tidy.
By following these steps, you can effectively recalibrate your dashboard gauges and ensure that your instrument cluster delivers precise information for optimal driving experience.
Common Issues and Their Solutions in Dashboard Restoration
Restoring a dashboard to its factory specifications can present various challenges. Understanding these common issues and their solutions is essential for a successful restoration process.
One frequent issue encountered is fading or peeling instrument faces. This can result from prolonged exposure to sunlight and temperature fluctuations. To resolve this, consider replacing the worn instrument faces with new decals that replicate the original design. Ensure to clean the surfaces thoroughly before application for optimal adhesion.
Another problem is malfunctioning gauges. A common cause is a faulty sensor or wiring. To troubleshoot, begin by checking the electrical connections and wiring harness for corrosion or damage. If the wiring appears intact, test the sensors themselves using a multimeter to verify functionality. Replacing the faulty component usually resolves the issue.
Cracks and scratches on the dashboard surface can detract from its appearance. For minor scratches, a plastic polish can often restore clarity. Deep cracks may require a more extensive repair, such as using a plastic filler or replacing the affected section. Always ensure that the materials used match the original texture and finish for a seamless repair.
Another challenge is restoring the illumination of the dashboard lights. Dim or non-functioning lights can stem from burned-out bulbs or electrical issues. Start by replacing any burned-out bulbs and checking the associated fuses. If the bulbs are functional and the issue persists, inspect the wiring to ensure proper voltage and ground connections.
Dust and grime accumulation can obscure the clarity of the dashboard. Regular cleaning with appropriate, non-abrasive cleaners is necessary to maintain visibility. Use microfiber cloths to avoid scratching surfaces and ensure that any cleaning agents are compatible with the materials used in the dashboard.
Finally, ensuring that all components fit correctly post-restoration is crucial. Misalignments may occur due to previous repairs or aftermarket replacements. Take the time to carefully align all parts before securing them. Adjustments may be needed in the mounting brackets or panels to ensure a snug fit along the dashboard’s contours.
Addressing these common issues effectively will contribute to a successful dashboard restoration, returning the instrument cluster to its original factory condition.


