


Restoring old body panels can be a rewarding endeavor for car enthusiasts and professionals alike. This guide delves into the essential techniques and tools necessary for repairing various components, particularly focusing on fenders and other metal parts. By breathing new life into these elements, you not only enhance the aesthetics of your vehicle but also contribute to its longevity.
Metal body panels, such as fenders, often suffer from rust, dents, and other forms of damage over time. Understanding how to effectively assess and address these issues is crucial. This guide will cover the step-by-step processes of repairing imperfections, techniques for metalworking, and tips on preserving the integrity of your vehicle’s body. Whether you’re a beginner or have some experience, you’ll find valuable insights to help you regain the functionality and appearance of old body panels.
Emphasizing the importance of both repair and reuse, this guide serves as a testament to sustainability in automotive care. By restoring and reusing old fenders and other metal body panels, you not only save money but also minimize waste, promoting a greener approach to car maintenance. Join us as we explore effective methods for achieving high-quality repairs on your vehicle’s body panels.
Assessing Damage and Determining Repair Techniques
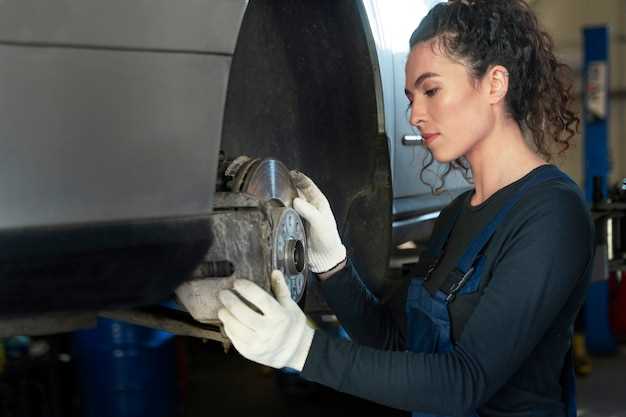
When restoring old body panels, the first step is to thoroughly assess the damage. Start by inspecting the panel for dents, rust, cracks, or other forms of distortion. Look closely at the edges and seams, as these areas often show signs of wear and corrosion. Identifying the extent of the damage allows you to determine the appropriate repair techniques needed for restoration.
For minor dents, techniques such as pulling or pushing might suffice to return the metal sheet to its original shape. Tools like dollies and hammers can be effective. If rust has compromised the integrity of the metal, it may be necessary to cut out the affected areas and weld in new metal sheet pieces. This ensures that the structure is sound and prevents future deterioration.
In cases of more severe damage, consider whether the panel is worth restoring or if replacement is a better option. Evaluating the overall condition of the body panel, including any hidden damage, is crucial. Once you have determined the repair methods required–whether straightening, patching, or complete replacement–you can proceed with the necessary work to restore the panel to its former glory.
Remember to prioritize safety during the repair process. Use proper protective gear when handling metal sheets and operating tools. Finally, ensure that the repairs you implement maintain the panel’s durability and aesthetics to achieve a high-quality restoration.
Step-by-Step Fender Repair Process with Sheet Metal
Repairing a damaged fender using sheet metal requires a systematic approach to ensure a durable and aesthetically pleasing result. Follow this step-by-step process to achieve a successful repair.
Begin by assessing the damage to the fender. Identify areas that need repair, such as dents, holes, or rust. Use a marker to outline the damaged sections, making it easier to visualize the work required.
Next, gather essential tools and materials. You will need sheet metal, a metal saw, snips, a hammer, a dolly, sandpaper, welding equipment, and primer. Ensure that the sheet metal matches the thickness and quality of the original fender for optimal results.
Carefully remove the damaged fender from the vehicle. Use appropriate tools to detach it without causing additional harm to surrounding components. Once removed, place the fender on a stable surface for easier access during the repair process.
For dented areas, use a hammer and dolly to gently reshape the metal. Start from the outer edges of the dent and work inwards. This technique helps restore the fender’s original contour without causing further damage.
If the damage includes rust or holes, cut out the affected section using a metal saw or snips. Make sure to leave a clean edge for the new sheet metal to bond properly. Afterward, prepare the area by sanding it down to remove any rust and debris, ensuring a solid foundation for the repair.
Cut a piece of sheet metal that matches the dimensions of the area you removed. When positioning the new piece, use clamps to hold it in place. This ensures that the metal aligns perfectly with the contours of the fender.
Weld the new sheet metal into place, taking care to create strong, even seams. If you lack welding skills, consider using metal adhesive or rivets as an alternative. Be sure to wear protective gear throughout this process to avoid injury.
Once the sheet metal is secured, smooth out the seams using sandpaper. Feather the edges to blend the new metal with the existing fender, creating a uniform surface. This step is crucial for the final paint finish.
After achieving a smooth surface, apply primer to the repaired area. Allow it to cure according to the manufacturer’s instructions. This will protect the metal from corrosion and prepare it for painting.
Finally, paint the fender to match the rest of the vehicle. For best results, use a high-quality automotive paint and apply multiple thin coats, allowing each layer to dry completely. Once the paint is dry, your fender will be restored and ready to reattach to the vehicle.
Finishing Touches: Priming and Painting Repaired Panels
After successfully repairing the body panels, applying the right finish is essential to achieve a professional look and ensure the longevity of the work. The first step is priming the sheet metal. Use a high-quality automotive primer specifically designed for metal surfaces. This creates a strong adhesion between the metal and the paint, preventing rust and corrosion.
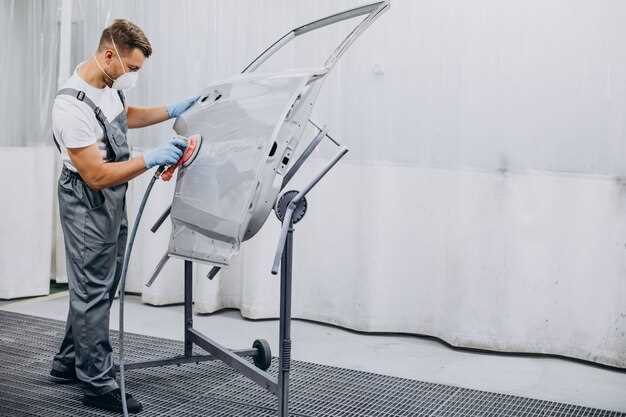
Before applying primer, thoroughly clean the surface to remove any dust, grease, or contaminants. Sanding the repaired areas can help create a better bonding surface for the primer. Apply the primer in thin, even coats, allowing adequate drying time between layers. This process not only enhances the smoothness of the surface but also highlights any imperfections that may need further repair.
Once the primer is fully cured, it’s time to move on to painting. Choose a high-quality automotive paint that matches the original color or desired finish of the vehicle. Apply the paint using a spray gun or aerosol can, maintaining a consistent distance to avoid runs and drips. Like the primer, multiple thin coats are preferable over a single thick application. Allow each coat to dry thoroughly before applying the next one.
After completing the painting process, a clear coat can be applied to protect the paint and add depth to the finish. This clear coat also serves as a barrier against UV rays and environmental elements that can damage the finish over time.
Finally, allow the paint and clear coat to cure completely. Once dried, perform a final inspection of the repaired areas to ensure a seamless blend with the original body. By following these steps, you can ensure the repaired panels not only restore the integrity of the vehicle but also enhance its aesthetic appeal.


